


Amazon Elastic Compute Cloud (Amazon EC2) is a web service provided by Amazon Web Services (AWS) that allows users to run virtual machines (known as instances) in the cloud.
EC2 provides scalable computing capacity in the cloud, allowing users to easily launch, manage, and scale virtual servers to meet their computing needs.
It mainly consists of the capability of :
Rental virtual machines(EC2).
Storing data on virtual drivers(EBS).
Distributing load across machines.
Scaling the services using an auto-scaling group(ASG).
EC2 sizing and configuration options:
Operating System(OS)
Compute power and cores (CPU)
How much random access memory (RAM)
How much storage space 1. Network-attached : EBS & EFS 2. hardware: EC2 instance store
Network card speed of card, public IP address
Firewall rules: Security groups
Bootstrap script: EC2 user data
Key features and concepts associated with AWS EC2:
Instances
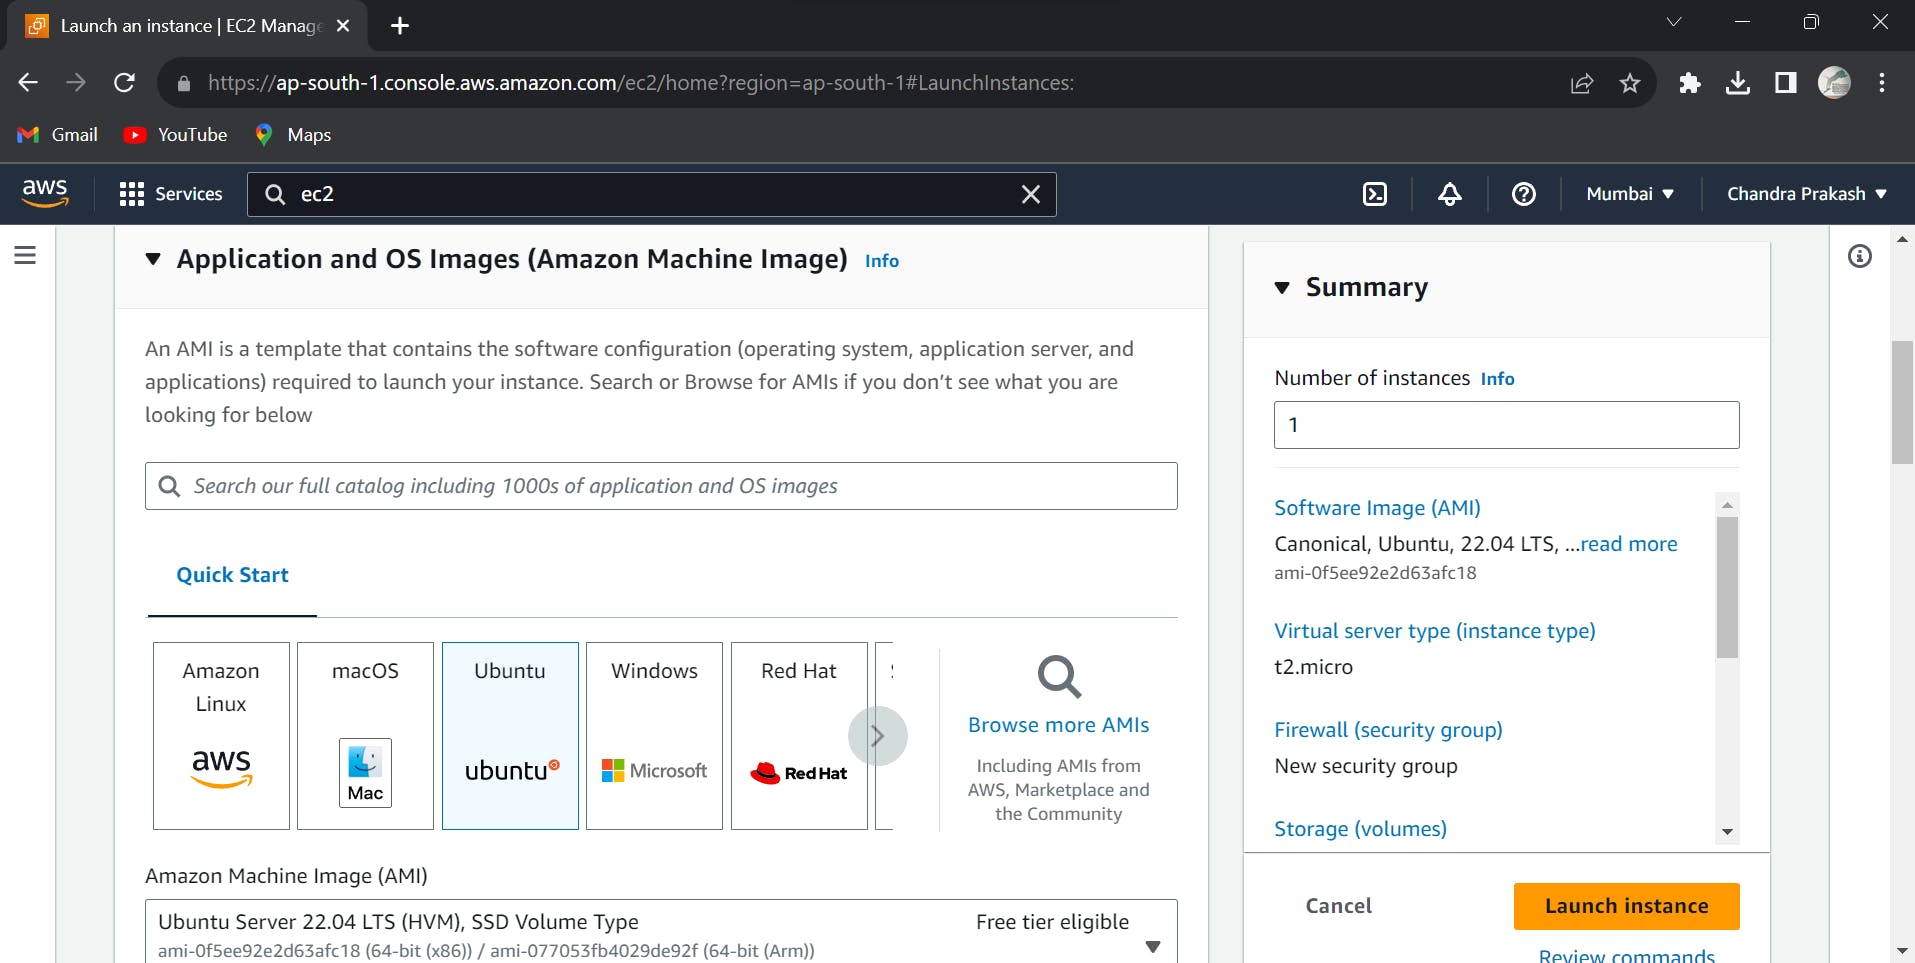
AMI (Amazon Machine Image) : An AMI is a template that contains the software configuration (operating system, application server, and applications) required to launch your instance. Search or Browse for AMIs if you don’t see what you are looking for below
Instance Types: t2.micro
Regions and Availability Zones
Security Groups and Network ACLs
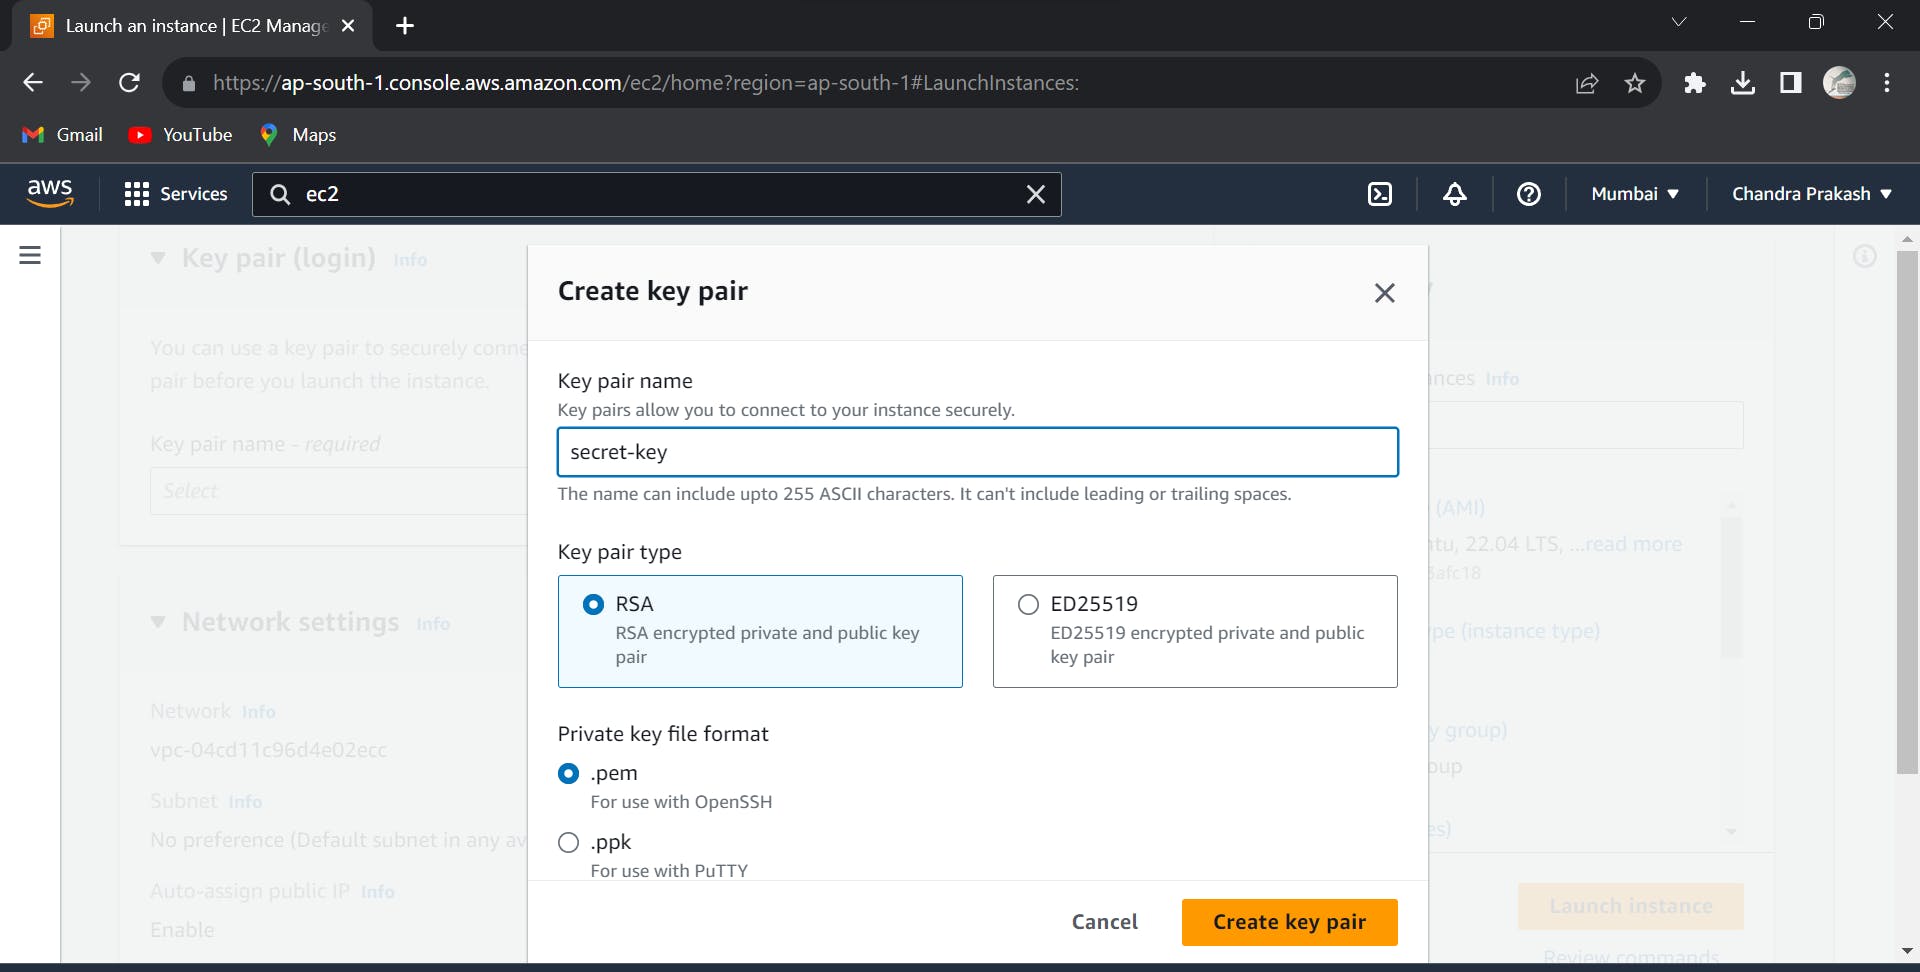
Key Pairs : type: RSA, file-format: .pem(for use with OpenSSH
Elastic IP Addresses
Amazon EBS (Elastic Block Store)
Auto Scaling
Load Balancing
Amazon CloudWatch
Instance Storage
IAM Roles
User Data
Spot Instances
EC2 User Data:
EC2 User data used to automate boot tasks such as :
Installing updates
Installing software
downloading common files from the internet
It runs with the root user.
AWS EC2 offers an exceptional platform for hosting web applications, boasting scalability, flexibility, and unwavering reliability. In this comprehensive beginner's guide, we'll lead you through the process of deploying your captivating React application on an EC2 instance within the vast landscape of Amazon Web Services.
Prerequisites:
An AWS account
Installed and configured with AWS CLI
A React application that you want to deploy
Step 1: Launch an EC2 instance
The first step is to launch an EC2 instance on AWS. Here's how you can do it:
Log in to your AWS console and navigate to the EC2 service.

Click on the "Launch Instance" button to start the instance launch wizard.
Choose "Ubuntu Server" as the Amazon Machine Image (AMI).
- Creating or Selecting a Key Pair for EC2 Instance:
During the instance launch process, you will be prompted to either select an existing key pair or create a new one. A key pair is a set of public and private keys that are used to securely connect to the EC2 instance via SSH.
If you already have a key pair, you can select it during the instance launch process. If not, you can create a new key pair by following these steps:
In the "Configure Instance" step of the launch wizard, scroll down to the "Advanced Details" section.
Click on the "Select" button next to "Key Pair" to open the "Create a new key pair" dialog box.
Enter a name for the key pair and click on the "Create Key Pair" button.
The private key file will be downloaded automatically. Make sure to save it in a safe location on your local machine.
Note: The private key file should be kept secure and should not be shared with anyone. You will need this key to connect to the EC2 instance via SSH.
Once you have created or selected a key pair, you can continue with the instance launch process.
Select an instance type and configure the instance details as per your requirements.
Review the instance details and launch the instance.
Step 2: Connect to the instance
Open a terminal window on your local machine.
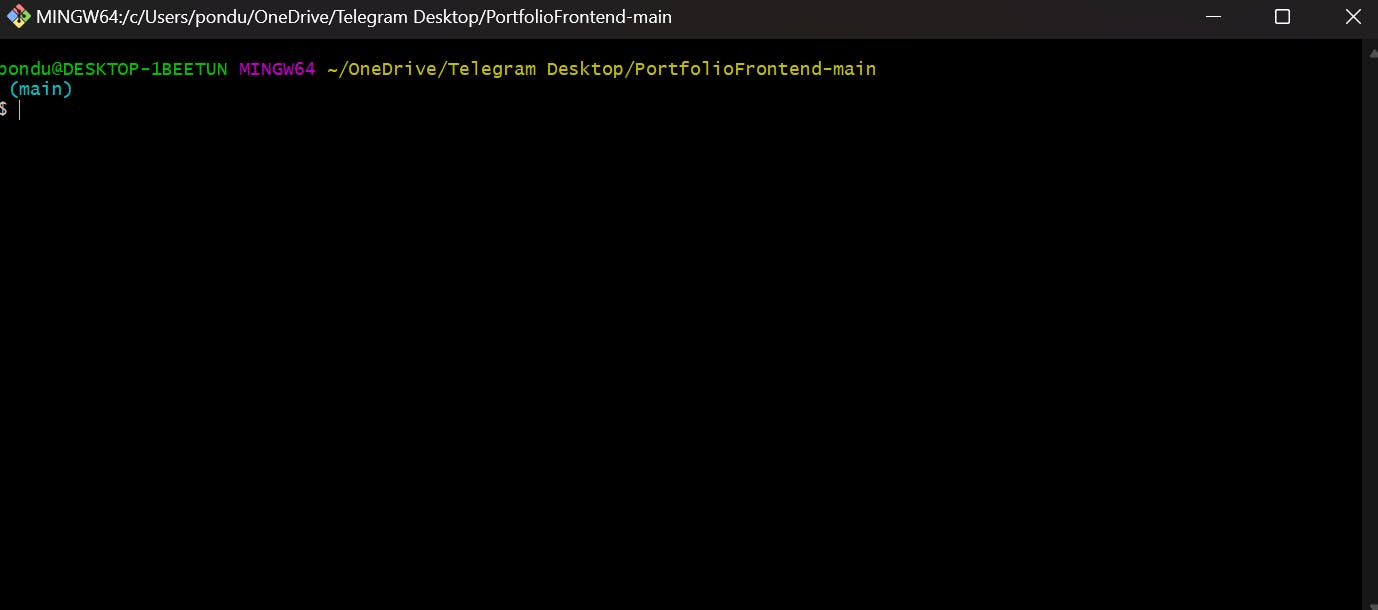
Use the SSH command to connect to your EC2 instance using the public IP address or DNS name of the instance.
Execute the below command in the same directory where we key(secret-key.pem) was downloaded.
  ssh -i <path-to-private-key> ubuntu@<public-ip-address>

  ssh -i "secret-key.pem" ubuntu@ec2-3-108-41-225.ap-south-1.compute.amazonaws.com
Hurray, Now we are connected to the remote server(ec2 instance).
Step 3: Install Node.js and Git
Now that you are connected to the instance, the next step is to install Node.js and Git. Here's how you can do it:
Once you are connected to the instance, run the following command to update the package repository:
sudo apt-get update
Install Node.js and Git using the following commands:
  sudo apt-get install nodejs
  sudo apt-get install npm
  sudo apt-get install git
Step 4: Clone your React application
After installing Node.js and Git, the next step is to clone your React application from the Git repository. Here's how you can do it:
Clone your React application from the Git repository using the following command:
git clone https://github.com/Prakash7078/react-portfolio
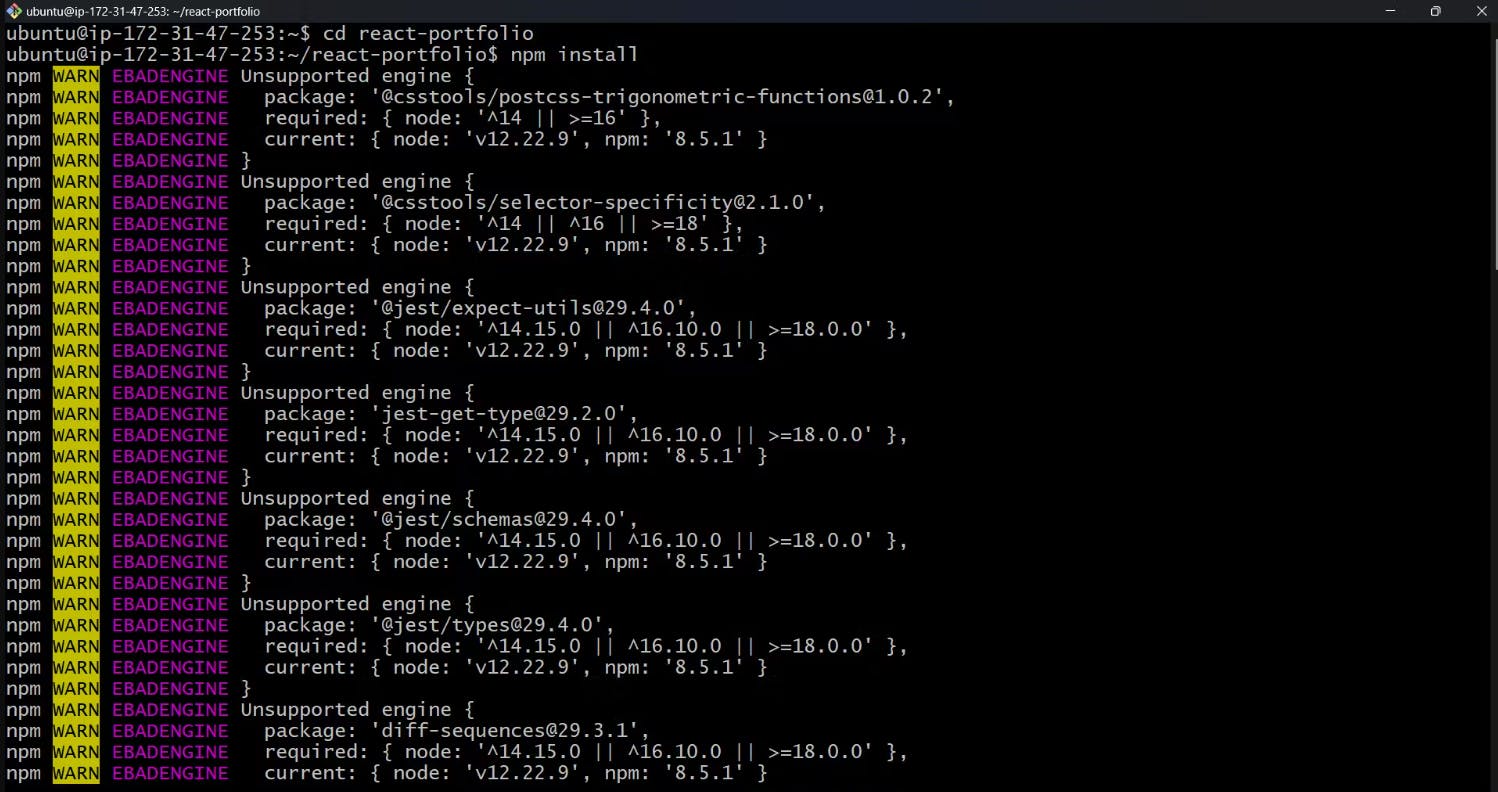
Install the node packages:
npm install
Step 5: Start your application
npm start
In your browser instead of localhost:3000 add this 3.108.41.225:3000
Click on security groups, then go-to inbound rules by clicking launch_wizard and add one like below and include the port in it, this is required.
Inbound rules in Security Groups for EC2 are a set of network access rules that control incoming traffic to your EC2 instances. They allow you to specify which protocols, ports, and IP addresses are allowed to connect to your instances.
So with the public address for instance by placing your port number at the end you can access your application anywhere.
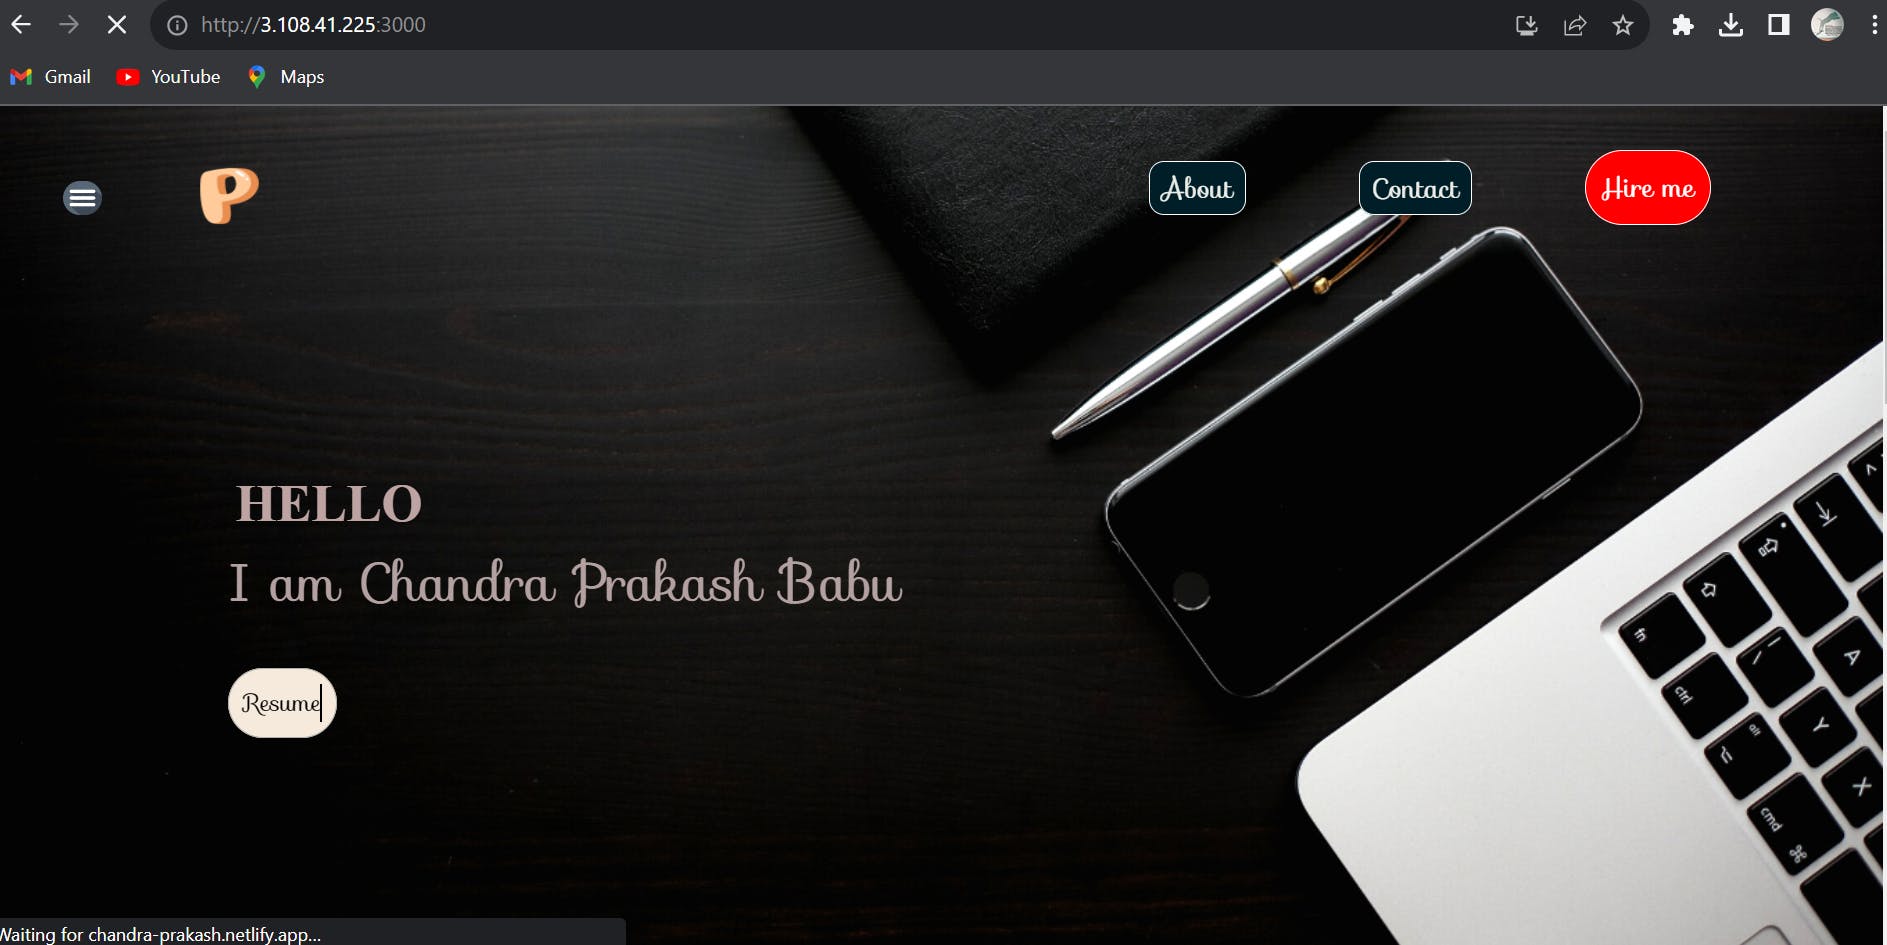
The project is deployed on AWS 🎉
When you restart your machine the IP Address is going to be changed. So this IP Address might change. So for this, we have a service called Elastic IPs.
In this, we will create a permanent IP Address for our application. Click on Allocate Elastic IP address. Keep it by default and click Allocate.
After that, we have to associate with our EC2 instance by selecting your ec2 instance.
And now we can see our application with a fixed elastic IP address with the port number.
Don't forget to terminate that instance after work, or else you will be billed.
Conclusion
In conclusion, deploying a React application on AWS EC2 is an excellent way to showcase your web application to the world. With the scalable infrastructure and flexibility provided by AWS, you can ensure that your application is available and performing well for your users.
In this beginner's guide, we have walked through the step-by-step process of launching an Ubuntu EC2 instance, installing Node.js and Git, cloning your React application, and finally, testing your application. By following these instructions, you are now equipped to deploy your own React applications on AWS EC2.